Let me guess. You want smooth skin, but your skin wants drama. Redness, stinging, bumps, itching, or that annoying “why did I do this” feeling right after hair removal. If you have sensitive skin, hair removal can feel like an attack. Shaving causes razor bumps. Creams burn. Wax feels like punishment. So where does that leave you?
That’s exactly why DIY sugar wax for sensitive skin keeps coming up in conversations. It sounds gentle. It sounds natural. And honestly, it can be a game changer when you do it right.
I’ve tried it myself. I messed it up the first time. I learned the hard way. And now? I understand why it’s amazing and effective. Let’s talk about what sugar waxing really does, why it works for sensitive skin, and how to make it in the comfort of your home.

Why Sensitive Skin and Hair Removal Don’t Get Along
Sensitive skin reacts fast. Sometimes too fast. Anything that pulls, heats, or disrupts the skin barrier can trigger redness, burning, or bumps.
Most hair removal methods cause problems because they do one or more of these things:
- They pull hair against the growth direction
- They stick aggressively to skin, not just hair
- They contain harsh chemicals or fragrance
- They strip the skin barrier along with the hair
Sugar waxing works differently, and that difference matters a lot if your skin gets angry easily.
What Sugar Wax Actually Is
Sugar wax isn’t new. People used it long before salons existed. It uses simple ingredients and relies on technique, not chemicals.
A basic sugar wax contains:
- Sugar
- Water
- Lemon juice or apple cider vinegar
That’s it. No fragrance. No preservatives. No mystery ingredients.
The wax stays soft, sticks mostly to hair instead of skin, and removes hair in the direction of growth, which already makes it gentler.
Why Sugar Wax Works Better for Sensitive Skin
This is where sugar waxing really shines.
It Doesn’t Stick Aggressively to Skin
Sugar wax wraps around hair, not skin. That means less pulling, less trauma, and fewer micro tears.
It Removes Hair With the Growth Direction
This reduces ingrown hairs and irritation. Sensitive skin loves this.
It Washes Off With Water
No harsh oils. No scrubbing. No residue panic.
It Exfoliates Gently
Sugar waxing removes dead skin cells without over exfoliating. You get smoother skin without that raw feeling.
IMO, that combo alone makes it worth trying if your skin reacts to everything else.
DIY Sugar Wax vs Salon Waxing
Salon waxing can be great, but it isn’t always sensitive skin friendly.
Here’s a simple comparison:
DIY Sugar Wax
- You control the ingredients
- You control the temperature
- You can stop anytime
- Lower cost
- Gentler learning curve for sensitive areas
Salon Wax
- Often hotter
- Uses resins or fragrance
- Stronger grip on skin
- Faster, but more aggressive
If your skin flares easily, control matters.
The Best DIY Sugar Wax Recipe for Sensitive Skin
Let’s keep this simple and realistic.
Ingredients
- 1 cup white sugar
- 2 tablespoons lemon juice or apple cider vinegar
- 2 tablespoons water
That’s it. No extras. No essential oils. Sensitive skin doesn’t want surprises.
How to Make It
- Add everything to a saucepan
- Heat on medium while stirring
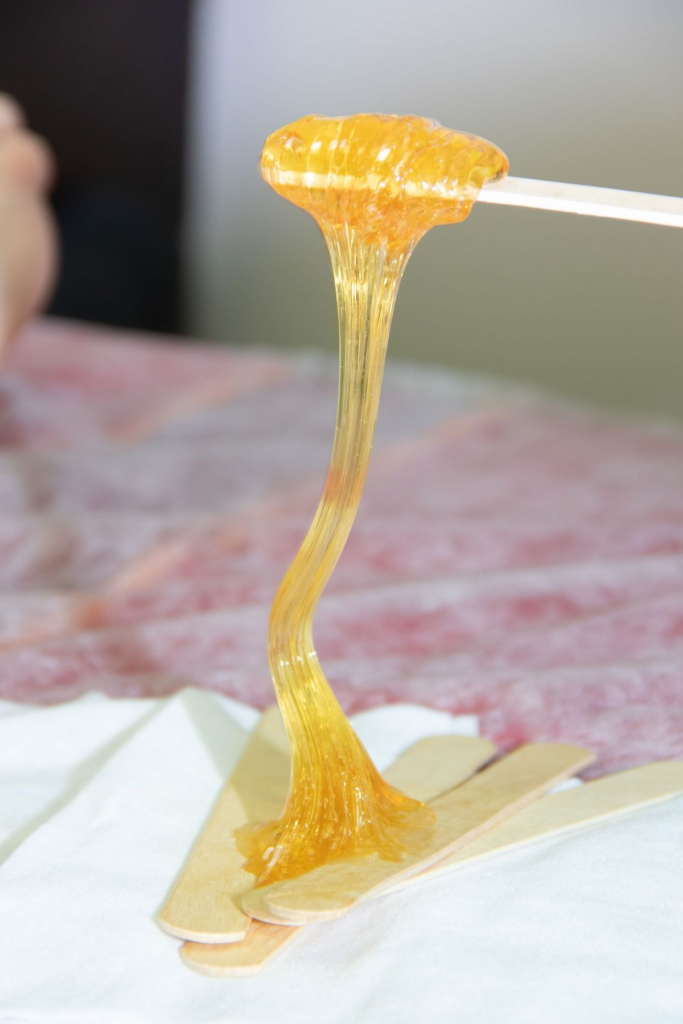
- Watch for bubbles and a golden color
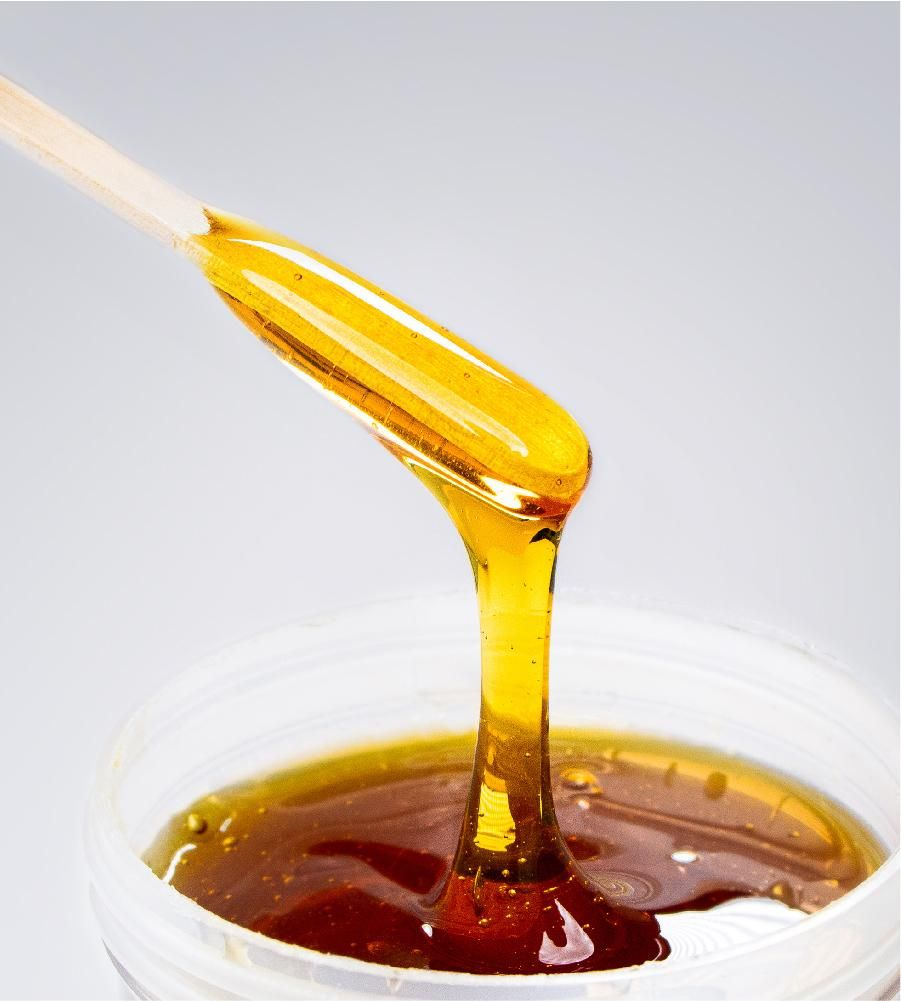
- Remove from heat when it looks like honey
- Let it cool until warm, not hot
If it burns your finger, it burns your skin. Patience matters here.

How to Prep Sensitive Skin Before Sugar Waxing
Prep matters more than the wax itself. Skipping prep causes irritation faster than the wax ever will.
Clean the Skin Properly
Wash the area with a gentle cleanser or mild soap. This removes sweat, oil, and product buildup.
Clean skin means better grip on hair and less irritation.
Light Exfoliation One Day Before
Do not exfoliate right before waxing. That’s asking for redness.
Instead:
- Exfoliate gently 24 hours before
- Use a soft cloth or mild exfoliant
- Skip acids on that area
This helps prevent ingrowns without weakening the skin barrier.
Make Sure Skin Is Dry
Moisture ruins sugar wax. You can lightly dust cornstarch or baby powder to absorb moisture.
How to Sugar Wax Without Hurting Your Skin
Technique matters more than strength.
Apply Against Hair Growth
Use your fingers or a spatula. Spread a thin layer.
Remove With Hair Growth
This part feels backwards if you’re used to waxing. Trust the process.
Keep Your Pull Low and Controlled
Don’t yank upward. Pull parallel to the skin.
Work in Small Sections
Sensitive skin hates rushing. Smaller sections mean more control and less trauma.
Areas Sugar Wax Works Best For
Sugar waxing shines in certain areas, especially for sensitive skin.
- Arms
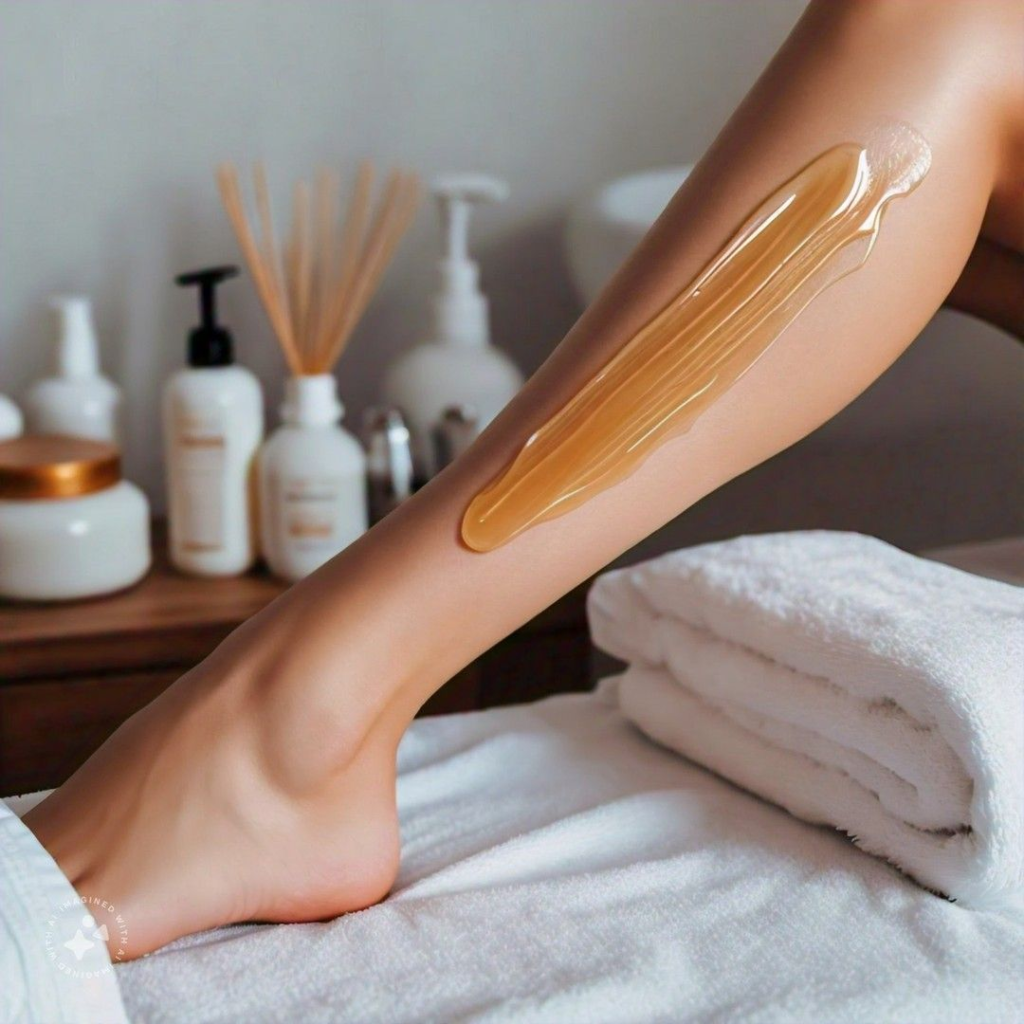
- Legs
- Underarms
- Bikini line
You can use it on the face, but only if your skin tolerates hair removal well. If your skin reacts easily, start with body areas first.
Common Mistakes That Cause Irritation
Most sugar wax horror stories come from mistakes, not the method.
Here’s what to avoid:
- Waxing over broken or irritated skin
- Using wax that’s too hot
- Re waxing the same spot repeatedly
- Waxing right after exfoliating
- Applying too thick a layer
Sensitive skin needs respect, not pressure.
Aftercare Is Non Negotiable
Aftercare decides whether your skin calms down or freaks out.
Immediately After Waxing
- Rinse with cool water
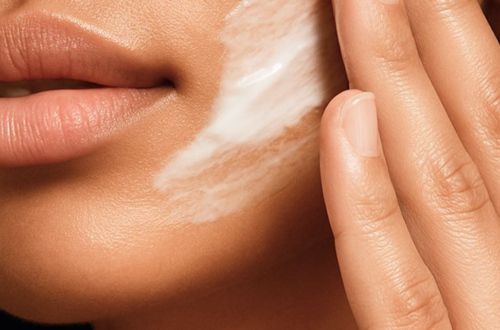
- Apply a calming gel or fragrance free moisturizer
- Avoid tight clothing
What to Avoid for 24 Hours
- Heat
- Sweating
- Fragrance
- Acids
- Scrubs
Yes, even if your skin “feels fine.” Give it time.
Sugar Wax and Ingrown Hair Prevention
Sugar waxing already lowers ingrown risk, but you can help even more.
- Exfoliate gently 48 hours after
- Moisturize daily
- Avoid heavy occlusive products immediately
Consistency matters here.
How Often Should You Sugar Wax Sensitive Skin
More is not better.
Most people do well with:
- Every 3 to 4 weeks for body
- Longer gaps if your skin needs it
Let hair grow enough so the wax can grip without tugging.
Is DIY Sugar Wax for Everyone
No method works for everyone. And that’s okay.
Sugar waxing might not suit you if:
- Your skin reacts to lemon or vinegar
- You have active eczema or psoriasis in the area
- You expect salon speed without practice
But for many sensitive skin types, it’s one of the gentlest options available.
My Honest Take
I like sugar waxing because it respects the skin. It doesn’t try to overpower it. Once I learned the right texture and timing, my irritation dropped dramatically. No bumps. No stinging. No post wax regret spiral.
It takes practice, yes. But sensitive skin often rewards patience.
Quick Recap
- DIY sugar wax uses simple, gentle ingredients
- It removes hair in the growth direction
- It causes less irritation than traditional wax
- Prep and aftercare matter just as much as the wax
- Sensitive skin needs control, not force
Final Thoughts
Hair removal shouldn’t feel like a battle between you and your skin. If your skin reacts to everything, sugar waxing offers a calmer option that you can control from start to finish.
Go slow. Listen to your skin. And remember, smooth skin isn’t worth irritation that lasts for days. Gentle always wins in the long run. Thanks for reading 🙂