Okay, let’s be real for a second, who doesn’t want glowing, healthy skin without spending hours (or hundreds of dollars) at a spa? Enter LED light therapy. If you’ve been curious about those at-home LED devices everyone’s raving about, I’m going to walk you through a full, easy-to-follow routine that can actually give spa-level results if done consistently. And yes, you can do this at home, no fancy appointment needed.
I’ve tried a bunch of devices, experimented with different wavelengths, and honestly… once you get the hang of it, it’s kind of addictive (in a good way). Let me break it down for you.

What is LED Light Therapy and Why It Works
LED stands for light-emitting diode, but we can skip the science jargon, basically, it’s light that penetrates your skin at different wavelengths to stimulate collagen, reduce inflammation, and fight acne.
Here’s the quick breakdown:
- Red Light: Boosts collagen, reduces fine lines, and improves skin texture. Think of it as the “anti-aging hero.”
- Blue Light: Kills acne-causing bacteria and helps calm breakouts. Perfect if you’re prone to pimples.
- Near-Infrared Light: Goes deeper, promotes healing, and improves circulation. Ideal for recovery or stubborn issues.
Ever wondered why professional spas charge so much for this? They use stronger devices and combine treatments. But with a good at-home device, you can get really close to those results, especially if you’re consistent.
Setting Up Your Space
Before you touch the device, prep your space. I promise this is half the fun. A clean, calm environment makes the routine feel like a real spa experience.
Here’s what you need:
- LED device (red, blue, or multi-light depending on your goal)
- Gentle cleanser
- Toner or hydrating mist
- Serums or creams (hyaluronic acid, peptides, or your favorite moisturizers)
- Eye pads or cucumber slices (place them near the chair or surface you’ll be sitting on)
- Towel or soft mat
- Mirror (optional, for adjusting device placement)
Make sure your space is well-lit, clutter-free, and comfortable. I like having my favorite playlist on in the background, it makes me feel like I actually splurged on myself, even if it’s just 20 minutes at home.
(If your space is already organized, just skip this step)
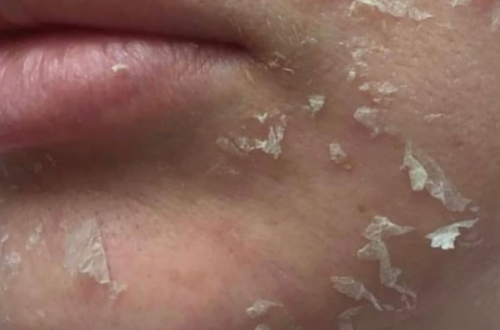
Prepping Your Skin
Step one is always clean skin. LED light won’t penetrate oils, dirt, or makeup, so your cleanser is your best friend here.
- Wash your face with a gentle cleanser.
- Pat dry with a soft towel.
- Apply a light layer of serum (optional, but some ingredients like hyaluronic acid pair well with red light).
Pro tip: avoid heavy oils or makeup before the session, they can block the light and reduce effectiveness.

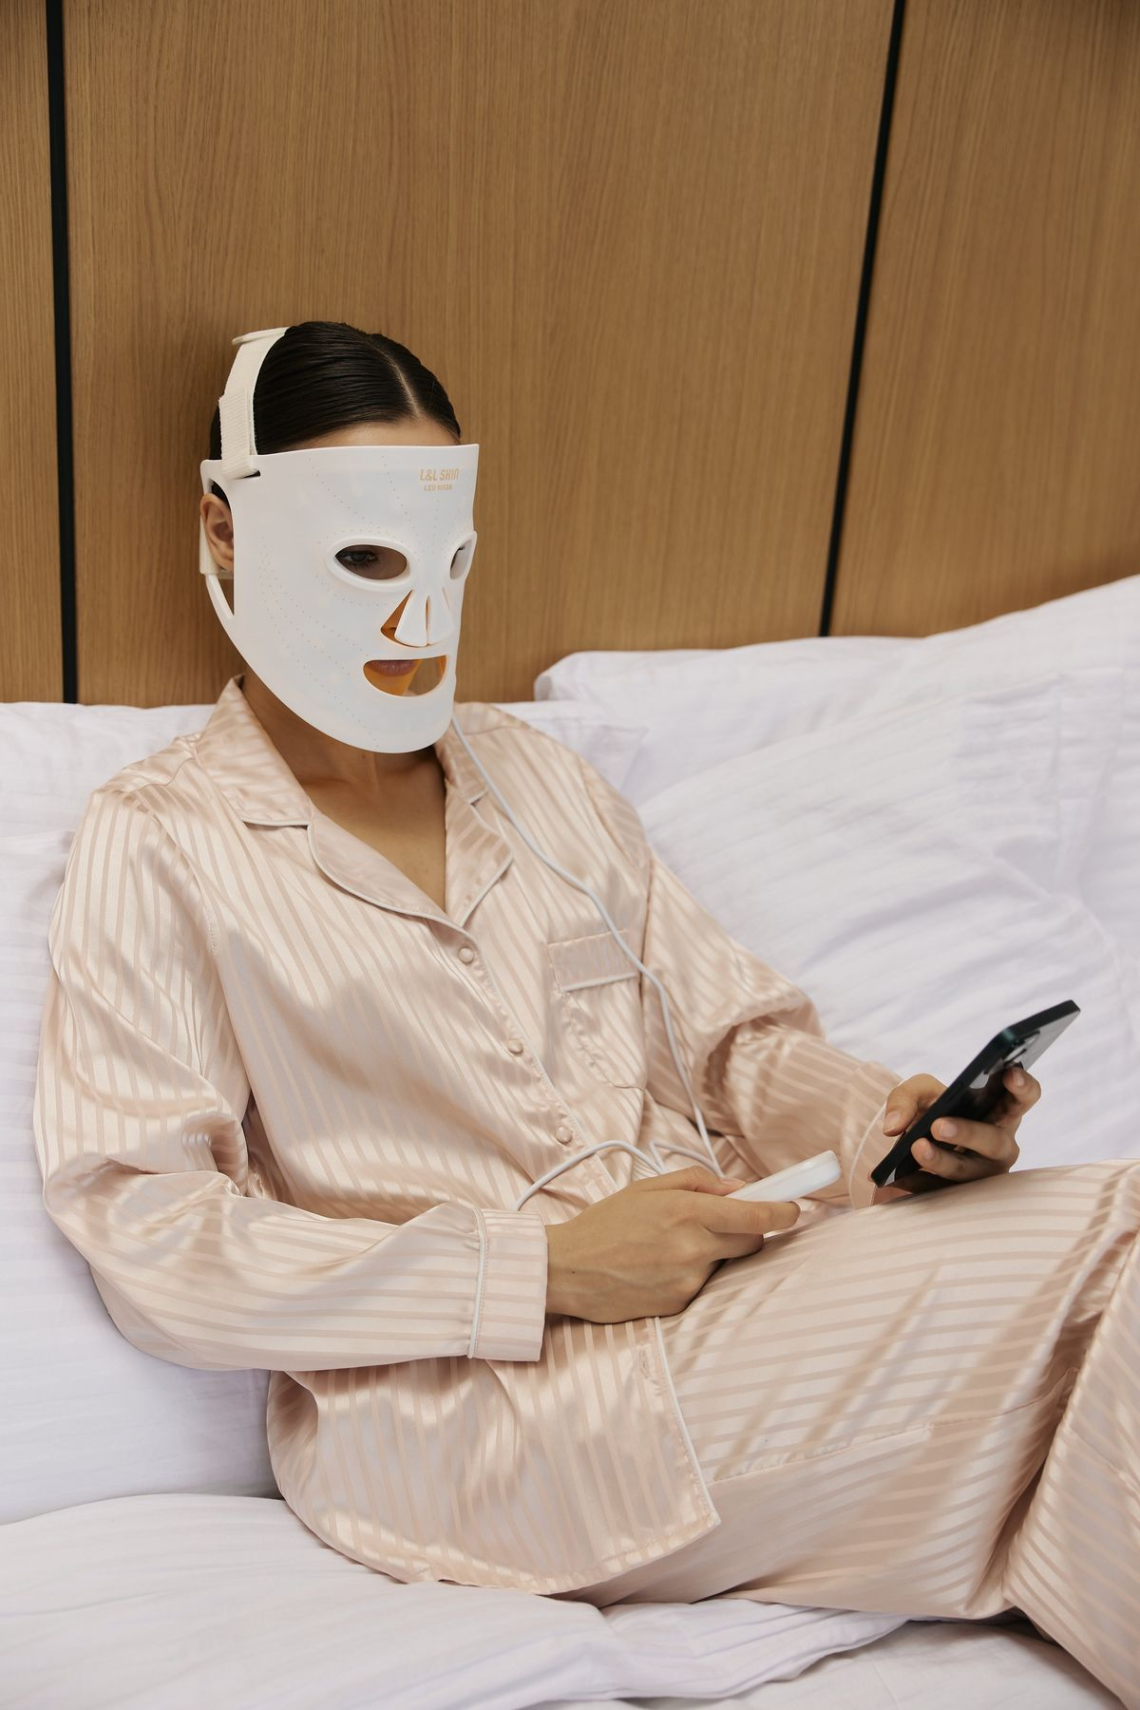
The LED Light Session: Step-by-Step
Now comes the fun part! You don’t need to spend an hour in front of the device. Most home devices suggest 10-20 minutes per session, depending on your goal.
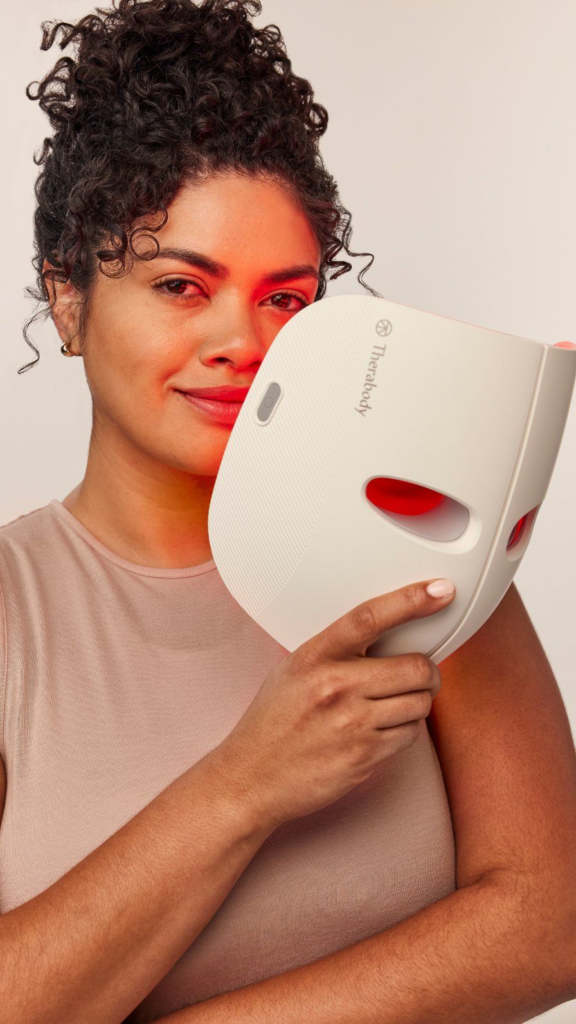
1. Red Light for Glow & Anti-Aging
- Duration: 15 minutes
- Distance: Keep the device 6–12 inches from your face
- Focus areas: Forehead, cheeks, around the eyes, and jawline
Red light helps stimulate collagen and tighten the skin. If you’re into self-care, I swear this is the part where you feel the “spa vibes.” Lean back, relax, maybe throw on your eye pads, and just chill.
2. Blue Light for Acne & Breakouts
- Duration: 10-15 minutes
- Distance: 6–12 inches from problem areas
- Focus areas: T-zone, chin, and any active breakouts
Blue light targets acne bacteria, so it’s basically a zapping session for pimples. Don’t skip it if you’re battling regular breakouts.
3. Near-Infrared for Healing & Recovery
- Duration: 10-15 minutes
- Distance: 12 inches for deeper penetration
- Focus areas: Any inflammation, under-eye area, or even neck
Near-infrared is subtle but powerful. It’s like giving your skin a gentle workout, improving blood flow, and helping repair tissue.
Tips to Maximize Results
Here’s where most people get lazy or skip steps, and it shows in results. Follow these tips for actual spa-level benefits at home:
- Consistency matters: 3–5 sessions per week works better than a single marathon session.
- Time it right: Red light is great anytime, but I like blue light in the evening for acne, less sun exposure, more calming.
- Pair with your favorite products: Hyaluronic acid, peptides, or collagen serums work really well after red light.
- Avoid direct sun immediately after a session.
After the Session
Once your LED therapy is done, follow up with:
- Hydrating toner or mist to refresh the skin
- Serum for your target concerns (vitamin C, peptides, or hyaluronic acid)
- Moisturizer to lock everything in
- Sunscreen if it’s daytime, LED doesn’t make your skin sun-sensitive, but SPF is always a good habit.
And honestly, just sit for a few minutes, breathe, maybe sip water. Your skin just had a mini workout.
Common Mistakes to Avoid
- Holding the device too far from your skin (it needs proximity to work).
- Skipping cleansing, LED can’t penetrate makeup or oils.
- Overdoing it, more isn’t better; follow the suggested timing.
- Ignoring your body’s response, if skin feels irritated, holt on.
How Long Until You See Results?
Patience is key. Most people notice subtle improvements in 2–4 weeks with consistent sessions. Red light firms skin, blue light reduces breakouts, and near-infrared improves overall tone.
Think of it like going to the gym: one session won’t change your body, but regular, consistent work shows results. Same with LED therapy.
Wrapping It Up
So, yes of course, you can get near-professional spa results at home with LED therapy. It takes a little prep, the right devices, and a consistent routine, but honestly, it’s worth it imo.
Final Thoughts
LED light therapy isn’t magic, but it’s close when used right. Join the skincare obssessed girlies and purchase that mask because you would not regret it. Whether your goal is anti-aging, acne, or just a brighter complexion, you can replicate a spa experience at home, and it’s way more affordable, trust me. Thanks for reading to the end : )