If you’re serious about growing strong, healthy hair, you already know that oiling isn’t just a nice ritual, it’s a game-changer. But here’s the catch: not all oiling is created equal. Slathering coconut oil on your scalp and hoping for miracles isn’t enough. The secret is how you apply it, when, and how long you leave it on. Done right, it can transform your hair from dry, lifeless strands to glossy, resilient locks that actually grow.
I’ve experimented with a ton of oils, techniques, and timings over the years, and today, I’m sharing everything I’ve learned about proper hair oiling for growth, no fluff, no guesswork, just real results.
Why Hair Oiling Works
You might wonder, “Why bother oiling at all?”
Hair oiling isn’t just about shine or softness. It nourishes your scalp, strengthens hair roots, improves circulation, and prevents breakage. A healthy scalp = healthy growth. Think of it as fertilizer for your hair, but much more luxurious.
Some oils like castor, coconut, and almond are richer in nutrients and fatty acids, making them perfect for growth, while lighter oils like jojoba or argan are amazing for hydration without feeling heavy.
Choosing the Right Oil
Not all oils are created equal, and your choice matters. Here’s a quick breakdown:
- Coconut Oil: Deeply penetrates hair shaft, reduces protein loss.
- Castor Oil: Thick, promotes scalp circulation and stimulates growth.
- Argan Oil: Lightweight, nourishes ends, reduces breakage.
- Jojoba Oil: Mimics natural scalp sebum, perfect for hydration.
- Almond Oil: Rich in Vitamin E, strengthens hair and smooths frizz.
Pro tip: mix oils for maximum benefits. For example, 2 parts coconut + 1 part castor creates a blend that’s both nourishing and growth-stimulating.
Step 1: Prepare Your Hair
Before you even touch an oil bottle, you need to prep your hair:
- Detangle gently using a wide-tooth comb. This prevents breakage during oiling.
- Section your hair into 4–6 manageable parts. This ensures even oil distribution.
- Slightly damp hair absorbs oils better, but avoid soaking wet, too much water reduces oil penetration.
Step 2: Warm Your Oil
Here’s a pro-level tip: warm your oil slightly before application.
- 20–30 seconds in the microwave or a small bowl in hot water is enough.
- Warm oil penetrates the scalp better and enhances circulation, which encourages growth.
- FYI, don’t overheat, hot oil = scalp burn, and no one wants that. 🙂

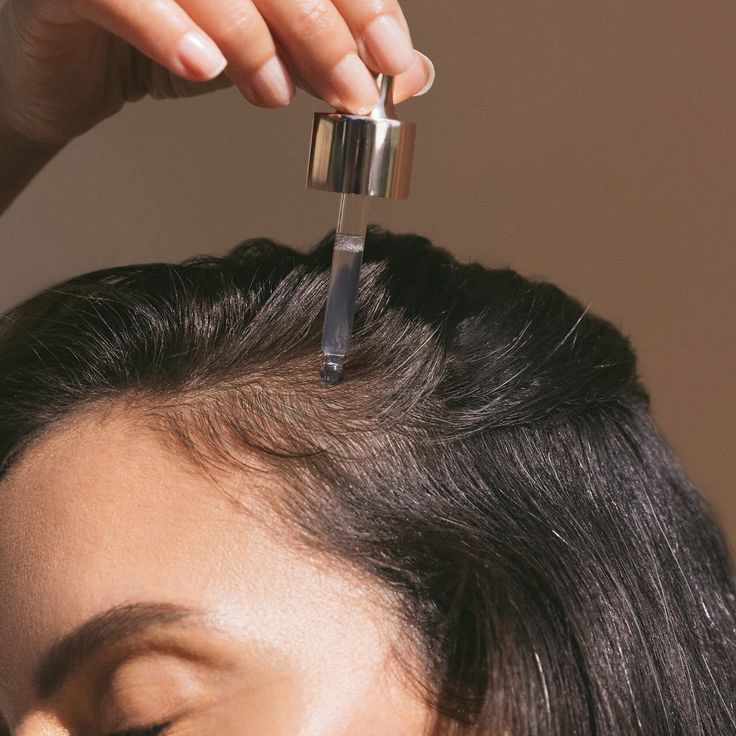
Step 3: Scalp Massage
Scalp massage is where the magic begins.
- Apply a few drops of oil to each section, starting at the scalp.
- Use your fingertips (not nails) to massage in circular motions for 5–10 minutes.
- Focus on areas where hair is thinning, gentle stimulation can wake up dormant follicles.
I personally love doing this while listening to music or a podcast. It makes the ritual feel indulgent rather than a chore.
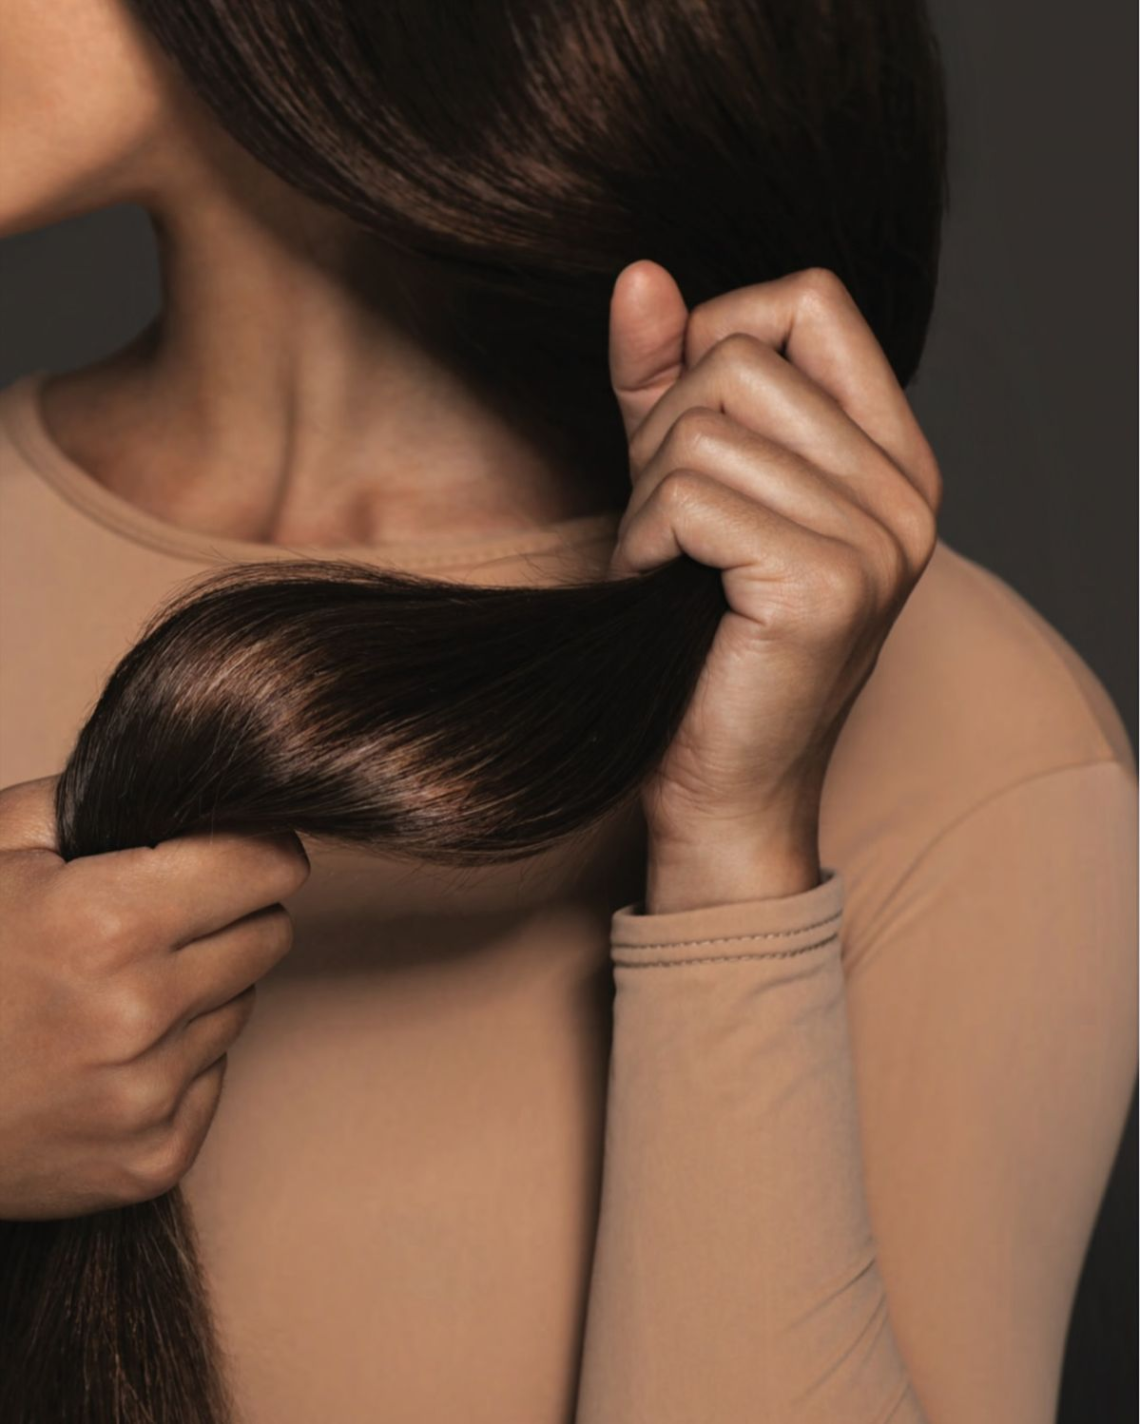
Step 4: Distribute to Hair Lengths
Once your scalp is coated:
- Run your fingers through the lengths of your hair to spread the oil.
- Focus on ends, which are the oldest and most prone to breakage.
- For thicker hair, use a wide-tooth comb to distribute oil evenly.
This step prevents split ends and dryness, giving your hair that soft, glossy finish.
Step 5: Optional Add-Ons
Depending on your goals:
- Hot towel wrap: Wrap hair in a warm towel for 20–30 minutes to boost absorption.
- Shower cap: Keeps heat and prevents mess.
- Essential oils: A few drops of rosemary or peppermint oil can stimulate growth and add scent.
I usually combine a hot towel with a shower cap, it feels spa-level, and results are noticeable after a few sessions.

Step 6: Duration & Timing
How long should you leave oil on? Here’s the pro advice:
- Minimum: 30 minutes (good for a quick boost).
- Ideal: 1–2 hours (deep nourishment).
- Overnight: Works for very dry or damaged hair, just protect your pillow with a towel.
For best results, oil your hair 2–3 times per week. Daily oiling can weigh hair down and may not allow proper scalp exfoliation.
Step 7: Washing Out
Rinsing properly is key to avoid buildup:
- Use a gentle, sulfate-free shampoo.
- Focus on the scalp first, then rinse lengths.
- For stubborn oil, a double wash is fine.
- Condition only the ends if your scalp is oily.
Pro tip: avoid hot water. Lukewarm water keeps hair cuticles smooth and prevents frizz.
Step 8: Tips for Maximum Growth
- Consistency: Oil at the same time each week to make it a habit.
- Healthy scalp: Exfoliate occasionally with a mild scrub to prevent clogged follicles.
- Diet matters: Protein, omega-3s, and biotin-rich foods enhance oiling benefits.
- Protect hair: Sleep on silk pillowcases and avoid tight hairstyles that stress follicles.
Even the best oiling technique won’t work if your hair is stressed from poor habits or harsh products.
Step 9: Common Mistakes to Avoid
- Using too much oil; less is more for absorption.
- Rubbing with nails; can cause micro-tears.
- Leaving oil on for 10 minutes only; you need time for penetration.
- Skipping massage; circulation is key.
Avoid these, and you’ll see thicker, shinier, and healthier hair in a few weeks.

Step 10: My Personal Routine
Here’s what I do:
- Monday & Thursday: Warm coconut + castor oil, scalp massage 10 min, hot towel 30 min.
- Saturday: Lightweight jojoba oil for ends only, 1-hour leave-in.
- Followed by a gentle shampoo and deep conditioning if hair feels dry.
Results? My hair feels stronger, less breakage, and actually grows faster than when I skipped oiling. It’s a ritual I look forward to every week.
In the end
Healthy hair growth isn’t only genetics… it’s also ritual, care, and the right technique. Proper hair oiling, done consistently, nourishes your scalp, strengthens strands, and minimizes breakage.
So grab your favorite oils, set aside some quiet time, and make this a weekly indulgence… And please join our pinterest community.